MagicaLCore
 MagicaLCore
 EDU


Blog · Guide
From your own photos to the App Store, all on iPad
Train a model in MagicaLCore, build the app in Swift Playgrounds and send it to App Store Connect. The whole path, step by step, without a Mac.
By MagicaLCore ·
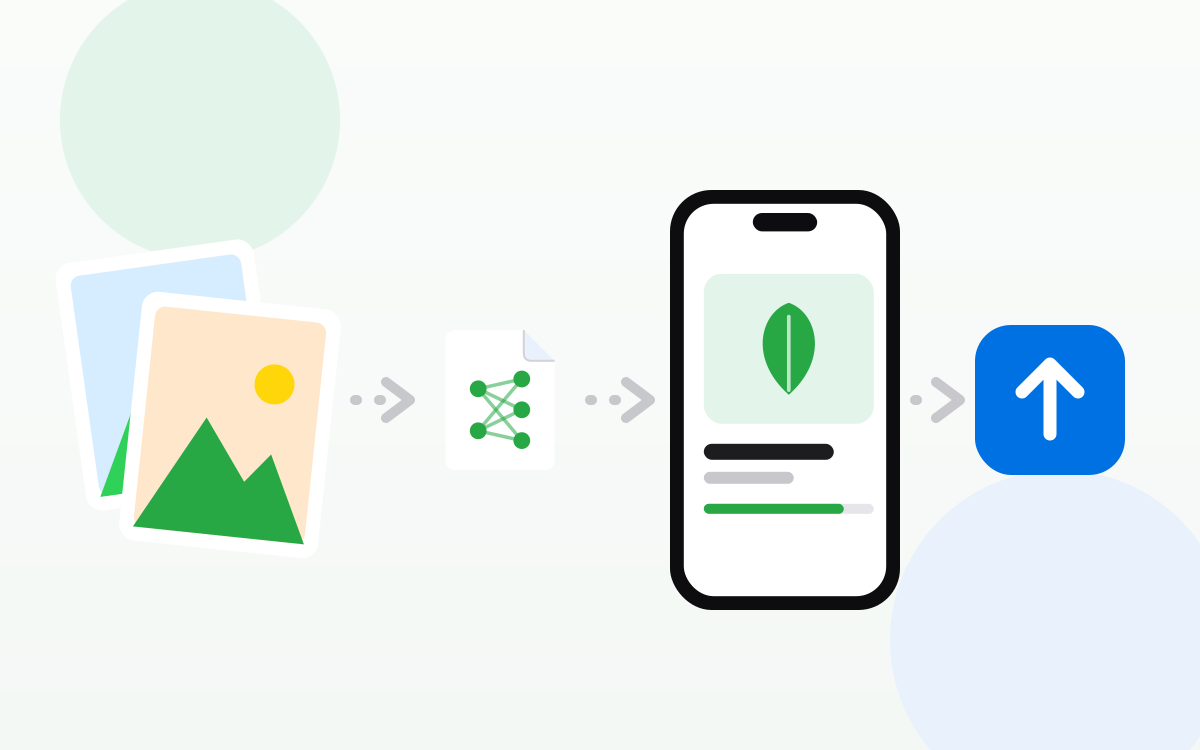
An app that recognises things with its own model used to need a Mac for every step: a training tool, Xcode and a computer to upload the build. Today an iPad with an M1 chip or later covers the whole path. Here is how the pieces fit, using a plant identifier as the example.
The idea
Pick something you care about and that a camera, a microphone or a table of data can capture:
- Which houseplant is this, from a photo?
- Which bird is singing, from a recording?
- Is this sentence a question, a complaint or a compliment?
- Rock, paper or scissors, from a photo of a hand?
A narrow question works better than a broad one. “Which of these 8 plants on my balcony?” beats “every plant in the world”.
Step 1. Collect your examples
Take photos of each plant with the iPad: different angles, different light, close and far. Put each plant in its own folder, named after it. Those names become the labels your app will show. Keep a few photos of each plant apart for testing.
Step 2. Train in MagicaLCore
Create a new image model, give it a name and an author, and add your folders. Start with the default settings. While it trains, watch accuracy and loss for training and validation. If you run out of time, pause and continue later from History.
Step 3. Test the hard cases
Point the camera at the plants and look at the confidence of each prediction. Try a dark corner, a leaf against a busy background, a plant that is not in your list. When the model gets something wrong, add more examples like that one and train again. This loop is where a good model is made.
Step 4. Export the .mlmodel
Export the model with its name, author and description, and save it to Files. It is ready for Swift Playgrounds and Xcode.
Step 5. Build the app in Swift Playgrounds
Swift Playgrounds is Apple’s free app for writing Swift and building apps with SwiftUI on iPad and Mac. Start a new App project, add the .mlmodel and write your screens, with a live preview as you type. The Use your model guide in MagicaLCore shows the code for each model type: how to load the model, pass it a photo, a sound, a row of data or a sentence, and read the answer.
A simple first version needs only three things:
- A button to take or pick a photo.
- The model’s answer, with its confidence.
- A short card about the result: in a plant app, its name and how to look after it.
Step 6. Ship it
When the app works on your iPad, Swift Playgrounds can send it to App Store Connect. To publish on the App Store you need a membership in the Apple Developer Program. If you later need more, the same project opens in Xcode on a Mac.
Good to know
- Recognition works on the device. The model travels inside your app, so it answers without a server and without sending photos anywhere.
- Start small, then grow. Ship with a handful of classes and add more as you collect examples.
- Be honest with your users. Show the confidence, and say what the app does not know.
For students: the Swift Student Challenge
Every year Apple invites students to submit an app playground they made themselves to the Swift Student Challenge. A model a student trains with their own photos, sounds or data can be the heart of that project, and it works offline. MagicaLCore is not part of the Challenge and is not connected to Apple, so read the official rules for that year and mention the tools you used.
The whole path at a glance
| Step | App | Device |
|---|---|---|
| Collect examples | Camera, Voice Memos, Files | iPad |
| Train and test | MagicaLCore | iPad |
| Export the .mlmodel | MagicaLCore | iPad |
| Build the app | Swift Playgrounds | iPad |
| Send to App Store Connect | Swift Playgrounds | iPad |
Information about other apps and services was checked on the date of the article and may change. All product names belong to their owners.